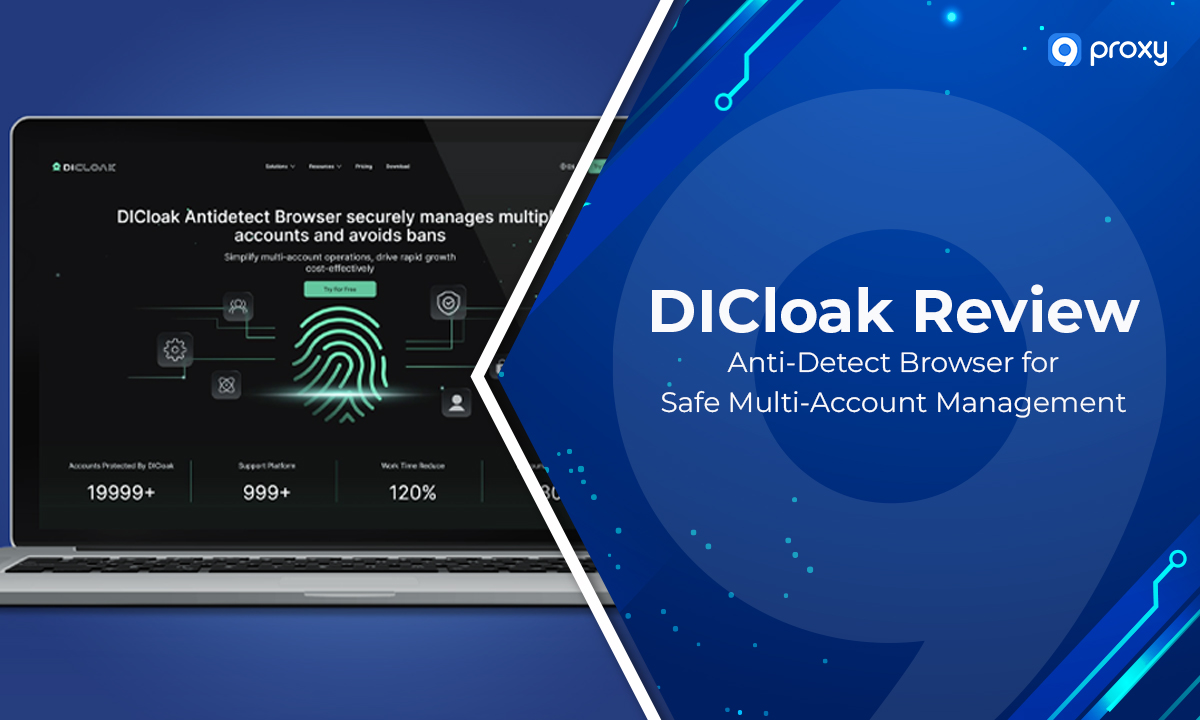
DICloak is a specialised anti-detect browser built to help you bypass browser fingerprinting, avoid detection, and manage multiple accounts safely. When proxies alone are no longer enough, DICloak provides advanced fingerprint masking, profile isolation, and reliable proxy integration to keep your identities secure.
In this article, 9Proxy will explain what DICloak is, how it works, and why it matters, while also showing you how to install it, configure profiles, adjust anti-detection settings, and set up proxies correctly. By the end, you’ll understand how to use DICloak effectively for safer, more stable online performance.
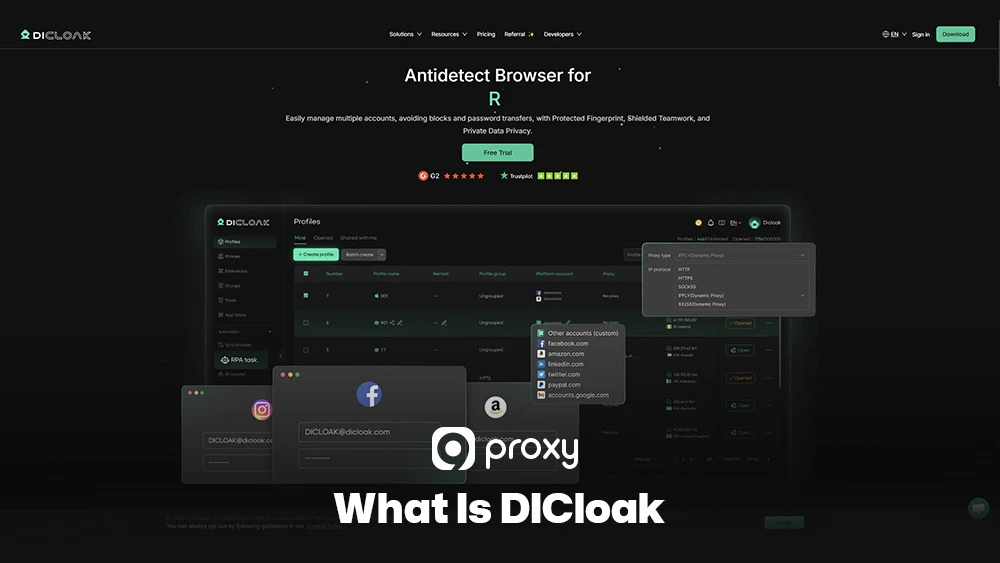
What is DICloak?
DICloak is an anti-detect browser that hides your digital identity by controlling browser fingerprints, isolating sessions, and creating fully separated profiles for each account. Unlike standard browsers that expose real device data, DICloak generates unique, consistent fingerprints so every profile behaves like a completely different device.
This prevents websites from linking your activities, reduces bans, and avoids verification loops. Because of this strong identity masking, DICloak is widely used by e-commerce operators, affiliate marketers, social media teams, and data professionals who need high privacy protection and secure multi-account management.
How DICloak Anti-Detect Technology Works?
DICloak hides your identity by combining fingerprint manipulation, session isolation, and strong proxy integration. Its mechanism follows the same core principle used by a modern antidetect browser, where each profile is treated as a completely separate device with its own digital identity.
By keeping cookies and sessions isolated, DICloak ensures every profile runs independently. When paired with high-quality proxies, the system delivers the same level of consistency expected from an undetectable browser built for stable identity masking.
Why Should You Use DICloak?
Using the DICloak anti-detect browser brings major advantages for anyone working with large-scale tasks or activities that require strong privacy.
Scalable Multi-Account Management: DICloak lets you manage many accounts on social media, e-commerce, or advertising platforms without them being linked or banned. Each account stays completely isolated in its own profile with its own fingerprint.
Guaranteed Anonymity and Privacy: By spoofing hundreds of browser and device data points, DICloak protects your real identity and blocks tracking systems. This helps your operations stay private and maintain high Semantic Trustworthiness.
Targeted Geo-Specific Operations: When paired with a localised proxy, DICloak keeps your time zone, language, and location consistent with your IP. This is ideal for geo-targeted testing, ads, and marketing work.
Automation and Data Scraping Safety: For scraping and automation tasks, DICloak’s Stealth Mode and stable profile structure reduce detection risks. Detailed workflows and proxy-based strategies are regularly explored on Blog 9Proxy, where similar setups are analyzed in depth.
Key Features of DICloak
The DICloak browser offers a powerful collection of features designed to give every profile maximum Semantic Accuracy and complete anonymity. In real workflows, Dolphin Anty browser often comes up in conversations about profile control and automation depth, which helps clarify where DICloak stands in this space.
Below is a clear summary of the core features that make the DICloak Antidetect Browser essential for strong multi-account management and reliable anti-detection performance.
|
Feature Category |
DICloak Capability |
Benefit to the User |
|
Identity Protection |
Browser Fingerprint Masking |
Alters hundreds of browser characteristics (Canvas, WebGL, Fonts) to create a unique, non-detectable signature for every profile. |
|
Connectivity |
Proxy Support and IP Rotation |
Allows easy integration of various proxy types (SOCKS5, HTTP/S) and supports rotation mechanisms for changing IPs per profile or session, which is very different from how a server-side reverse proxy server operates. |
|
Security Algorithms |
Advanced Anti-Detection |
Utilises sophisticated technology to bypass modern detection systems that look for inconsistencies between IP and browser attributes. |
|
Workflow |
Multi-Account Management |
Centralised dashboard for creating, cloning, and managing isolated profiles, ensuring no data or session leakage between accounts. |
|
Anonymity Layer |
Stealth Mode and WebRTC Protection |
Hides certain sensitive browser attributes and prevents the real IP address from leaking via WebRTC, ensuring continuous anonymity. |
The feature set of DICloak is created to give you a strong, multilayered defence against online tracking and detection. Because every profile can be customised and managed separately, DICloak becomes a highly flexible tool that fits the needs of many professional workflows and even more complex network stacks, often compared in secure web gateway vs proxy discussions.
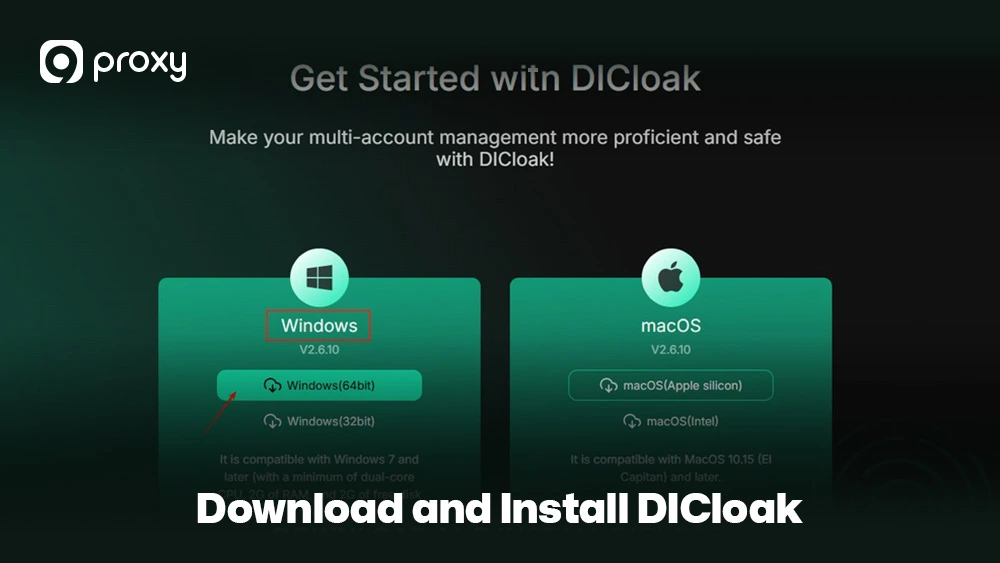
How to Download and Install DICloak
Getting started with DICloak is simple, but checking your system requirements beforehand will help you avoid errors and ensure a smooth setup. The guide below walks you through each step of the installation process clearly and safely.
DICloak works on all major operating systems, including Windows, macOS, and Linux. For the best performance, you should have at least 8GB of RAM, a stable internet connection, and enough storage space to run multiple browser profiles without issues.
When you add high-quality proxies, each profile appears as a completely different user with its own location and identity, and not just another node behind a reverse proxy server on the website side.
Installation Steps
- Navigate to the Official Site: Go to the official DICloak website and open the download page.
- Select Your Version: Choose the installer that matches your operating system (.exe for Windows, .dmg for macOS, or Linux package).
- Download the Installer: Click the download button and save the file somewhere easy to find.
- Run the Installer: Double-click the downloaded file and follow the steps shown on screen. You may need to pick an installation folder and accept the license agreement.
- Launch and Log In: After the installation finishes, open the DICloak browser. You can create a new account or sign in if you already have one.
- Post-Installation Check: Make sure DICloak has permission to access the internet. This is important because you’ll need a stable connection for the proxy setup that comes next.
Setting Up DICloak for Proxy and Anti-Detection
The real strength of DICloak comes from pairing it with a high-quality proxy service, because the browser’s anti-detection features work best when the IP matches the fingerprint and location settings of each profile.
When selecting the right toolset, many users rely on insights from a Multilogin review to understand how different environments handle fingerprint stability and proxy integration in real scenarios.
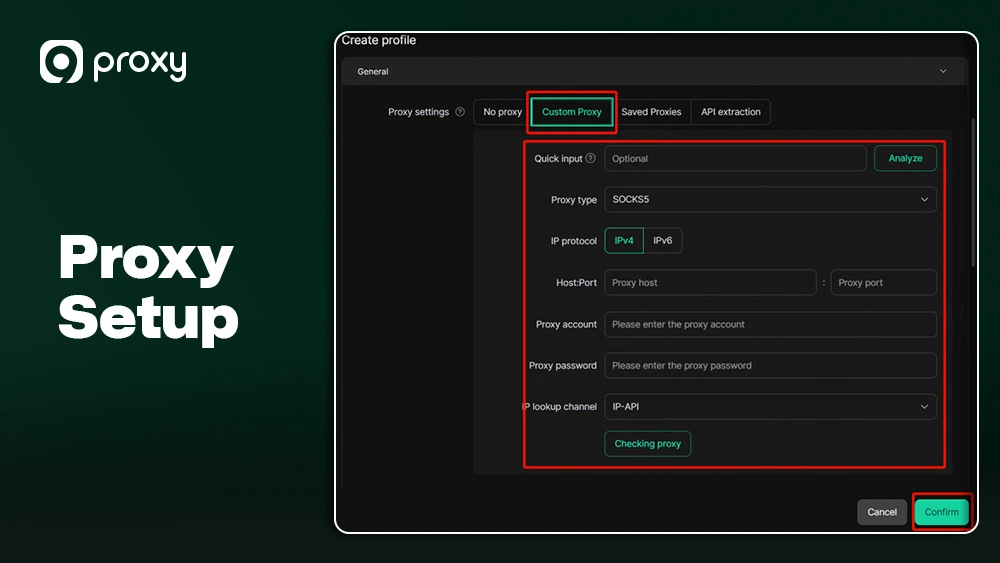
Proxy Setup
Adding a proxy to DICloak ensures each profile has its own location and identity. Here’s how to set it up:
- Go to the profile settings panel.
- Open the Proxy Configuration section.
- Choose your proxy type: residential, mobile, or datacenter.
- Select protocol: HTTP, HTTPS, or SOCKS5. While you can experiment with a free socks5 proxy server for testing, production workflows should always rely on stable, paid residential IPs.
- Enter the IP, port, username, and password.
- Run a connectivity test to confirm the proxy works.
- If errors occur, switch ports or verify your login credentials.
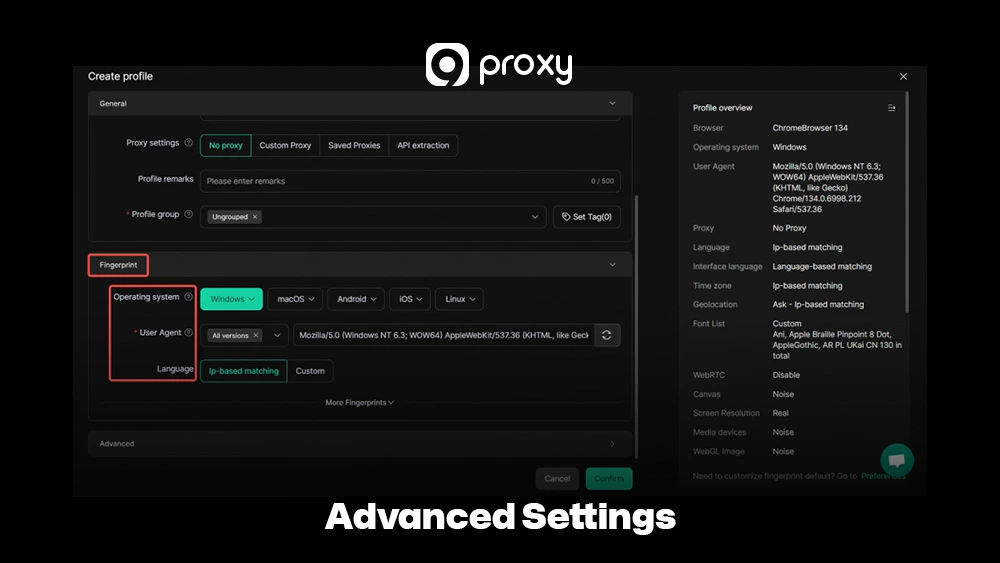
Advanced Settings
To ensure your digital identity remains completely secure, we need to go beyond basic masking: fine-tuning these advanced settings is important for plugging the small, tricky data leaks and inconsistencies that modern tracking algorithms are specifically designed to catch.
- Fingerprint Tuning: DICloak generates fingerprints automatically, but you can adjust details like screen size or device type to match typical users on your target site.
- WebRTC Settings: Set WebRTC to Disable or Spoof, so your real local IP address never leaks. Even one leak can break all anti-detection protections, and pairing this with a correctly configured DNS proxy server helps prevent DNS-based exposure too.
- Time Zone and Language: Always match your profile’s time zone and language to your proxy’s location. Mismatched location data is a common detection signal.
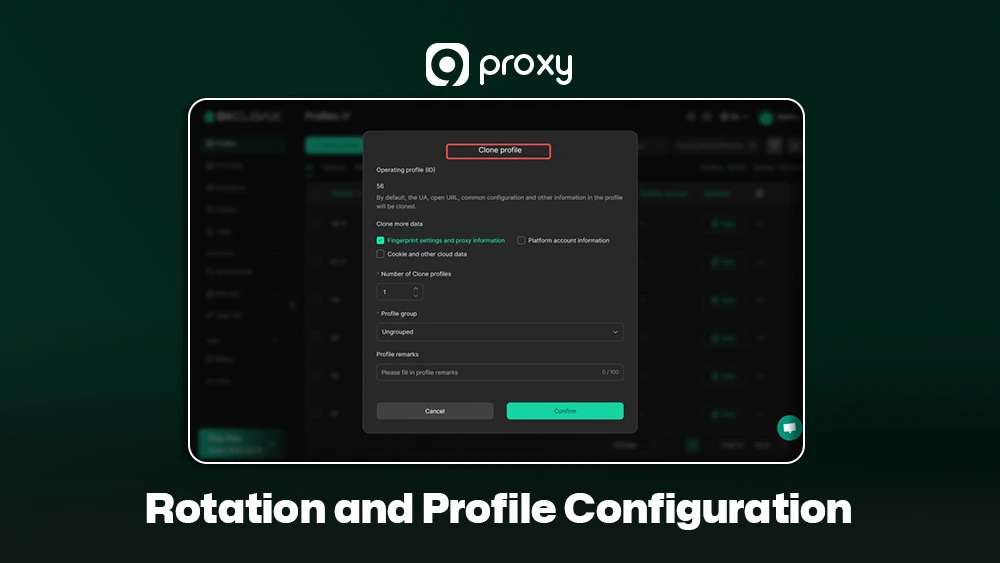
Rotation and Profile Configuration
Good profile management is essential for professionals handling large numbers of accounts and ensures smooth Semantic Interoperability.
- Save Profiles Safely: After setting up the proxy and fingerprint options, save the profile. This creates a stable, unique environment that preserves cookies and session data for one account.
- Duplicate and Clone: Use cloning to quickly create new profiles. Always change the proxy IP and adjust fingerprint settings so each clone remains unique.
- Warm-Up Period: For new accounts, spend a short time browsing normally (scrolling, visiting common websites). This builds natural cookie history and makes the profile look more realistic before high-risk tasks.
Deal with Common Mistakes When Using DICloak
Even experienced users can run into simple mistakes that increase the risk of detection when working with DICloak. Most of these issues come from small inconsistencies in settings or profile usage, but they are easy to avoid once you know what to look for.
Here are the most common pitfalls and how to fix them:
IP/Fingerprint Inconsistency: This happens when the browser’s Time Zone or Geo-location settings don’t match the proxy IP’s location. The solution is simple: always let the proxy’s location automatically set the browser time zone and related settings. DICloak usually supports this, and keeping them aligned helps maintain credibility.
Session Overlap: Never use the same DICloak profile for two different high-risk accounts. If one account gets banned, using a separate profile prevents that ban from affecting others. Always keep a one-to-one match between each proxy and each profile to stay safe.
Pricing & Plans
DICloak offers different pricing tiers based on how many browser profiles you need and how many team members will use the tool. While exact prices aren’t provided, the table below summarises the typical plan structure and what each tier is designed for.
The table below outlines the common plan tiers, their intended users, and the approximate profile limits to help you compare options easily.
|
Plan |
Price/Month |
Profiles |
Team Members |
Key Features |
|
Free |
$0 |
5 |
1 |
Basic fingerprints, 15 launches/day, 3 extensions |
|
Share (Starter) |
$8 |
50 |
3 (+$1/extra) |
1,000 launches/day, 5 extensions, batch tools |
|
Starter |
$5.50 |
30 |
– |
Unlimited launches/day, 50 extensions |
|
Premium |
$9.90 |
60 |
– |
Unlimited launches/day, 50 extensions |
|
Advanced |
$13.75 |
100 |
3+ |
Unlimited launches/day, API, RPA, team management |
|
Plus |
$15.84–$24.48 |
100 |
– |
50,000 launches/day, 100 extensions, batch tools |
|
Share+ |
$138 |
200 |
Unlimited |
Unlimited launches, team collaboration, API access |
|
Custom |
Negotiable |
Customizable |
Customizable |
Dedicated manager, bespoke solutions |
DICloak’s pricing typically focuses on cost per profile. You should choose a plan that fits both your current workload and future growth. Most users start with a free trial or free tier to test the DICloak browser before upgrading.
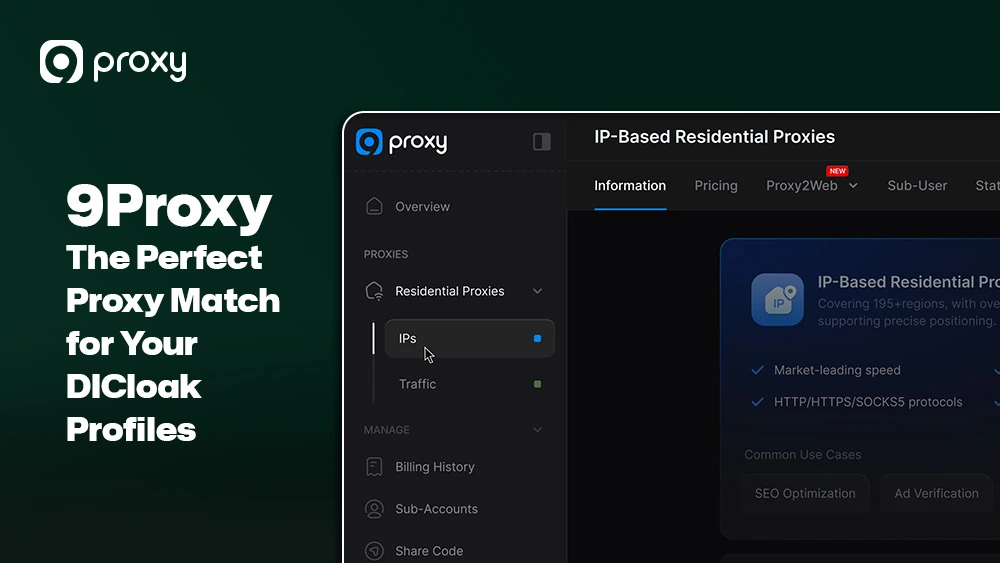
9Proxy: The Perfect Proxy Match for Your DICloak Profiles
The anonymity you gain from the DICloak anti-detect browser heavily depends on the quality of the IP address you use. A low-quality or reused IP can break fingerprint consistency and trigger detection systems. That’s why 9Proxy provides clean, high-quality residential IPs designed for stable multi-account environments.
Key Advantages of 9Proxy for DICloak Users
- 100% Real Residential Proxies: Our IPs come from real residential users in more than 90 countries. Authenticity is critical for avoiding advanced security checks that flag non-residential IPs.
- Clean and Private Proxy Pool: Our large proxy pool is unique and not shared with other providers, reducing the chance of blacklisting caused by misuse elsewhere.
- Unlimited Bandwidth Per IP: For tasks like scraping, streaming, or uploading via DICloak, we charge by the IP, ensuring stable, predictable performance.
- Affordable Pricing: High-quality Residential Proxies start at only ~$0.04/IP, making 9Proxy an economical and scalable choice for managing hundreds of DICloak profiles.
- Crypto Payment Perks: When you pay with cryptocurrency, you get a 5% bonus in IPs, giving you extra flexibility and value.
Conclusion
The DICloak Antidetect Browser is a powerful solution for one of the biggest challenges in digital marketing and e-commerce: managing multiple online identities while staying fully anonymous. In this article, we’ve covered what DICloak is, explained its key anti-detection features, and walked you through the complete setup process.
To operate multiple accounts safely, you need both strong browser protection and clean, trustworthy IPs. Pairing DICloak with a 9Proxy Residential IP ensures your profiles stay consistent, undetectable, and fast. Take control of your digital identity today by choosing a 9Proxy plan that gives your DICloak profiles the privacy and reliability they need to grow.